Perler bead tutorials (20)
These 20 tutorials are newly written for photo conversion, exports, palettes, and safety. Each links to the pattern maker, collections, and pattern gallery.
Perler bead dithering for smooth photos
Floyd–Steinberg dithering spreads missing colors into neighboring beads so cheeks and gradients survive a low color cap.
Read guide →
Remove backgrounds for fuse bead photos
Eyedropper background removal trims wallpaper and desks so pegboard width targets your subject, not negative space.
Read guide →
Limit fuse bead colors without losing the subject
Max-color quantization is the budget dial: fewer SKUs mean faster builds and cheaper Amazon carts, if you stop before the face melts.
Read guide →
Multi-pegboard PDF export explained
Large grids split into numbered 29×29 PDF pages so you iron one board, release it, then slide to the next coordinates.
Read guide →
Pick pegboard width for face patterns
Width in beads is the main likeness lever: 29 for icons, 58 for most faces, 87 when you accept multi-board time.
Read guide →
Amazon shopping list from your grid
Live bead counts become a shopping list aligned to palette codes—useful before you click buy on duplicate greys.
Read guide →
Crafting mode: track placed beads
Crafting mode marks placed cells so you can stop mid-row without guessing which beads landed last night.
Read guide →
Share fuse bead work on Pinterest
Vertical preview exports give Pinterest a crisp thumb while watermarking steers clicks back to your pattern or maker link.
Read guide →
Save patterns with Pro
Pro cloud saves reopen the same grid with palette, width, and edits intact—critical before you re-export after a remap.
Read guide →
Mini vs midi fuse beads
Mini beads shrink detail onto smaller boards but demand sharper eyes and the Mini palette mapping in the maker.
Read guide →
PDF symbols for black-and-white printers
HD PDFs include symbols and peg numbers so a black-and-white printer remains usable when color ink is expensive.
Read guide →
Flood fill in the pattern editor
Flood fill swaps a whole color region after photo conversion—faster than fixing hundreds of rogue background pixels one by one.
Read guide →
Photo lighting before bead conversion
Soft, even lighting before upload beats any slider inside the maker—shadows become false colors you cannot iron away.
Read guide →
Plan a fuse bead gift on a deadline
Deadline gifts fail when width, color cap, and ironing buffers are chosen on day one—not the night before the party.
Read guide →
Kids, beads, and ironing safety
Children can place beads; adults should iron. This split keeps burns off young hands while still teaching grid skills.
Read guide →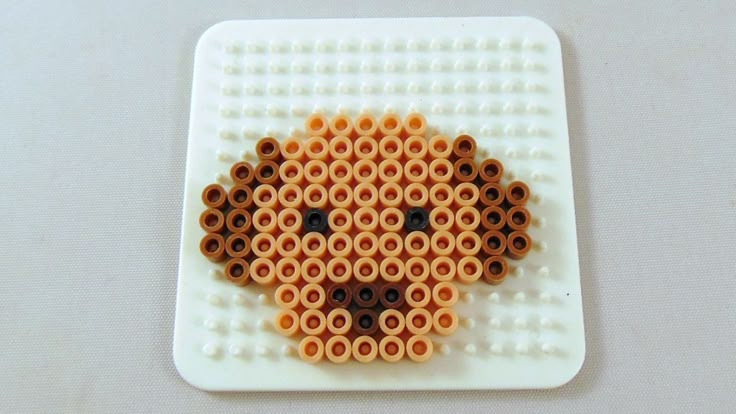
Watermarked preview vs HD export
Watermarked previews exist so you can proof likeness for free; HD PDF removes the mark and adds board numbers you can iron from.
Read guide →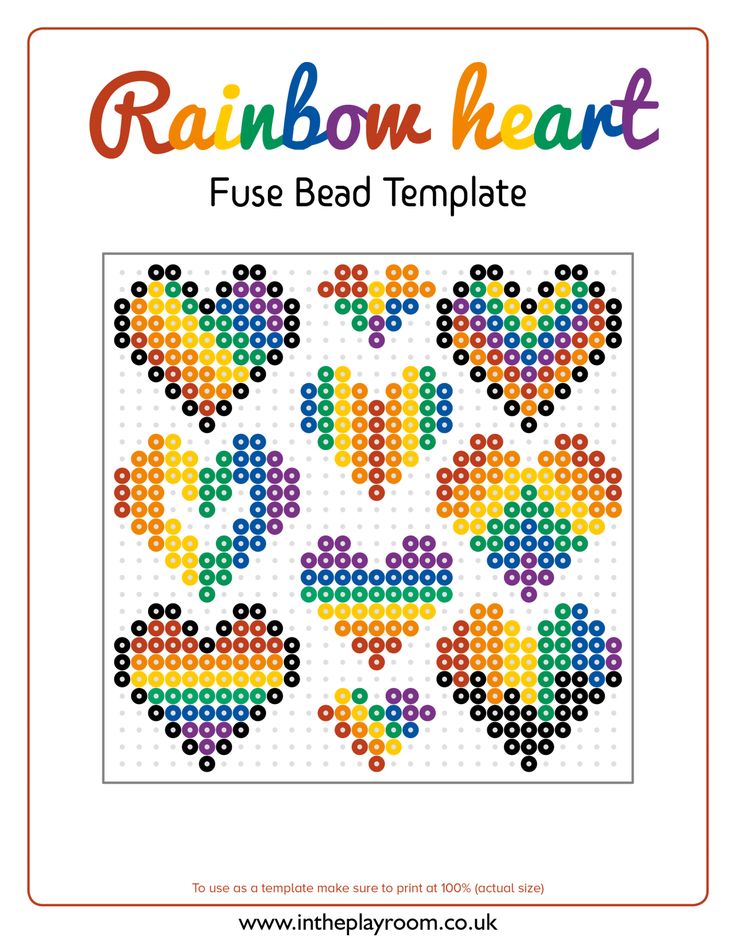
Checkout and download after Stripe pay
Stripe checkout completes in the browser; your HD PDF download should arrive in the same session with a receipt email for packs.
Read guide →
Contrast and brightness before conversion
Small contrast lifts inside the maker help muddy phone photos, but they cannot invent detail that glare already erased.
Read guide →
Build a bead budget from live counts
Live counts times your local price-per-bag estimate beats guessing from photo complexity—especially when greys multiply.
Read guide →
Share a pattern link after export
Share links let a co-builder open the same watermarked view—useful for club builds without emailing huge PDFs first.
Read guide →Classic guides (published earlier)
Long-standing reference pages on photo conversion, brand palettes, ironing, and grid sizing.
- Photo to perler beads
Convert portraits and logos without confetti pixels.
- Perler vs Hama vs Artkal
Brand sizes, palettes, and when to switch in the maker.
- How to iron perler beads
Temperature, parchment paper, and multi-board joins.
- Choose bead pattern size
Compare 29, 58, and 87 bead widths before you buy a PDF.